
Blacksmith Master Smelting Guide: Smelter Tiers
Smelter sizes, ore crates, ingot storage limits and the assistant tasks that keep a Blacksmith Master smelter running all day.
Smelting is the only production step that runs while your smith is asleep. Ore goes in, ingots come out, and the output is worth two to four times the input. A shop with a working smelter bank can fill a steel order overnight; a shop without one is still buying iron ingots at 30 gold each on day 40.
The steel chain→ is the first recipe that depends on this pipeline.
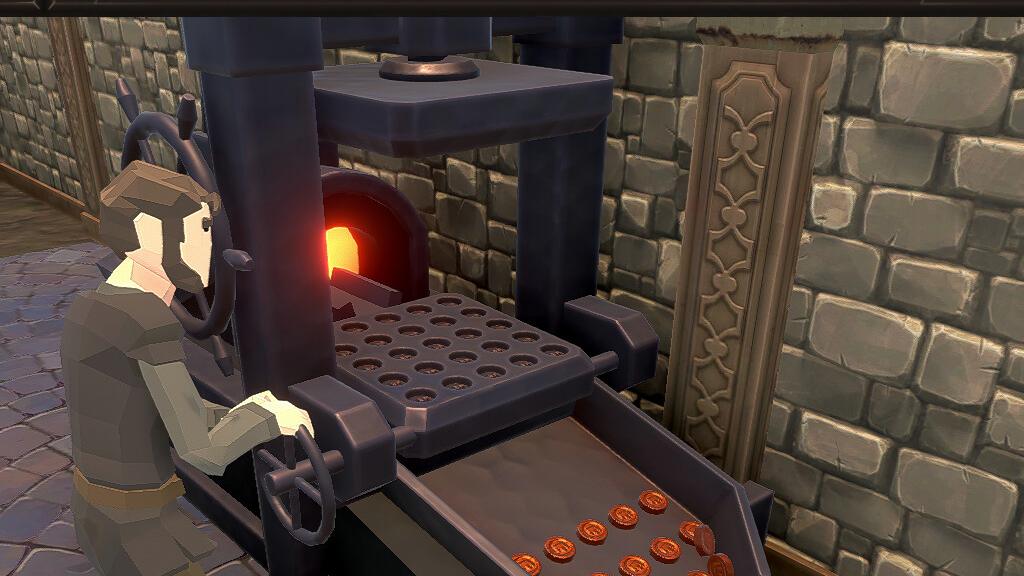
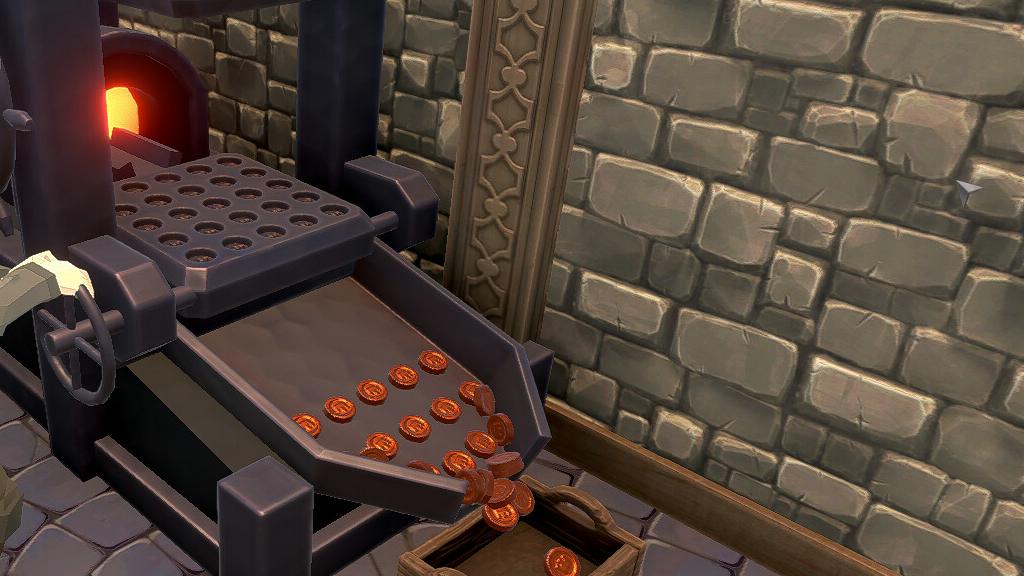
The smelter is never the problem. Storage is. Build the storage first and the smelter looks twice as fast.
The three smelters
| Smelter | Cost | Size | Unlock |
|---|---|---|---|
| Smelter | 500 | 8x6 | Smelting 1 (150 points) |
| Smelter | 1,000 | 10x6 | Smelting 2 (200 points) |
| Smelter | 2,000 | 12x6 | Smelting 3 (500 points) |
All three do the same job at different throughput and footprint. The 12x6 is not faster per ingot; it processes more at once, which only matters when ore supply keeps up.
The blacksmith master ingots→ page goes deeper on the exact numbers and edge cases.
Smelting 1 also unlocks the Ore Crate (250 gold, 6x6, 40 ore, iron ore restock at 15 gold each). That crate is the difference between a smelter that runs and a smelter that sits idle waiting for a miner.
Ore to ingot: what actually converts
Iron ore becomes an iron ingot. Copper becomes copper, silver becomes silver, gold becomes gold. Those are first-tier smelts.
Second-tier smelts combine first-tier ingots: iron to steel, copper to bronze, silver to sterling silver, gold to medium gold. Third-tier combines again into large ingots. The pattern is consistent, which is why one properly built smelter room handles every metal in the game.
The smelter does not consume fuel. It needs ore, an empty output slot, and time.
Storage is the real constraint
A Storage (200 gold, 4x4) holds 225 tier-one ingots, 150 tier-two, or 90 tier-three. The capacity drop per tier is the hidden cost of steel: the same cabinet that holds 225 iron holds only 150 steel, so a steel-heavy shop needs more cabinets, not bigger ones.
Place storage within the smelter's working radius. Ingots that have to be carried across the shop are ingots that arrive late at the anvil.
Ingot storage is also a requirement for the assistant task Transfer ingots, which needs at least two storages of the same type. If you want assistants shuttling metal, build the second cabinet early.
Assistant tasks that make smelting work
- Craft ingots (unlocked by Smelting 1): the assistant operates the smelter, 20 XP per ingot. This is the single highest-value assistant task in the metal economy, because it removes the smith from the smelter entirely.
- Transfer ingots: moves ingots between storages, requires two matching storages.
- Transfer items: general hauling, used for ore crates and finished goods.
- Restock raw resources (Oak Forest): refills wood piles and ore crates from warehouse stock.
An assistant on Craft ingots plus an assistant on Transfer items is the minimum viable metal crew. One without the other produces a smelter that fills its output and stops.
How many smelters do you need?
Count the ingots your smith consumes per day, then double it. A smith making iron swords uses two ingots per craft and maybe twenty crafts a day, which is forty ingots. One smelter at low tier cannot do forty; two can, barely.
The practical build order is: one smelter, one storage, one ore crate, one assistant on Craft ingots. Then a second smelter when the ore supply is steady. Then Smelting 2 for the larger unit, which is cheaper per tile than two small ones.
Do not buy the 2,000 gold smelter before you have a mine. Ore bought at 15 to 30 gold per unit makes expensive ingots no matter how fast the smelter runs.
Feeding the smelter without a mine
Three sources before the Iron Mine (200 points) unlocks:
- Ore Crate restock at 15 gold per iron ore, available from Smelting 1.
- Merchant offers that pay in ore, which are worth taking early.
- Trade routes, particularly the Gold Mine route, which converts finished goods into ore at a fixed ratio.
The Ore Crate is the bridge. It is not profitable on its own, but it keeps the anvil supplied while you save for the mine, and an anvil that is working pays for the crate.
Smelter placement
Put the smelter against a wall with the ore crate on one side and storage on the other. Leave a two-tile aisle: assistants path through it constantly, and a one-tile gap becomes a traffic jam once three workers share the room.
Basements are the natural home. Smelters are large, ugly, and generate no customer traffic, which makes them the ideal thing to put underground once the basement node (300 points) is available.
Official source: Hooded Horse wiki: Shop ↗ — smelter prices, sizes, storage capacities. Official source: Hooded Horse wiki: Mastery Tree ↗ — Smelting node costs. Official source: Hooded Horse wiki: Workers ↗ — assistant tasks and XP.
FAQ
Does the smelter need a worker assigned? A smith or assistant must operate it. Assistants with Craft ingots assigned will run it continuously.
Can I smelt without Smelting 1? No. Smelting 1 (150 points) unlocks both the smelter and the ore crate.
Why does my smelter stop after one ingot? Its output storage is full or unreachable. Check the cabinet, not the machine.