
Blacksmith Master Expand Shop: Walls and Floors
How to expand your Blacksmith Master shop: Construction costs, wall rules, floor unlock prices, stairs footprints and what belongs on each level.
The shop starts as one floor with fixed walls, and every expansion after that costs mastery points rather than gold. Walls need Construction (20 points) before you can build or demolish them. Floors are separate nodes: second at 100 points, third at 600, fourth at 700, fifth at 800, basement at 300. Elite workers can add one more floor below the basement.
Decide the floor plan with the layout guide→ before spending points on walls and stairs.
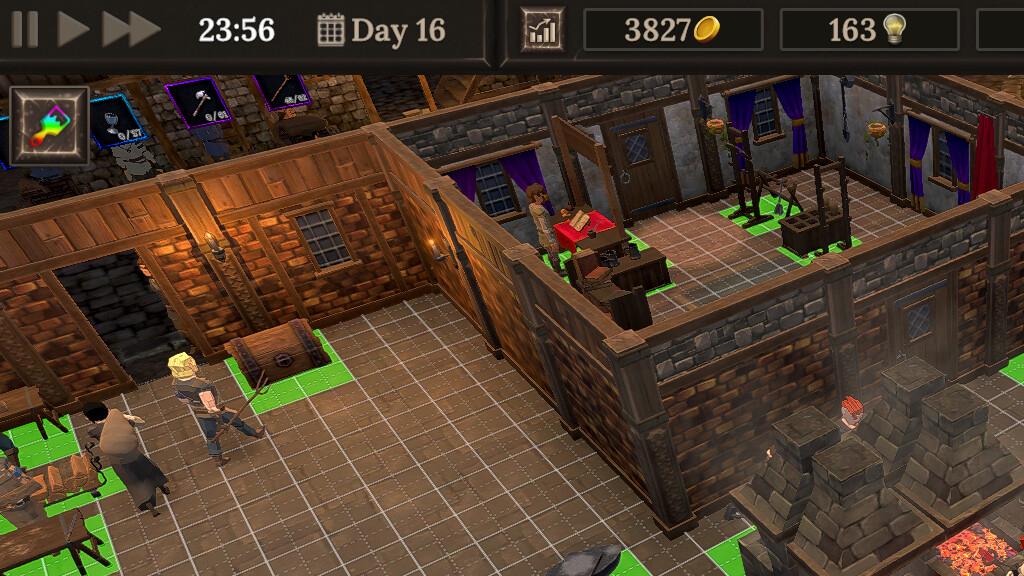
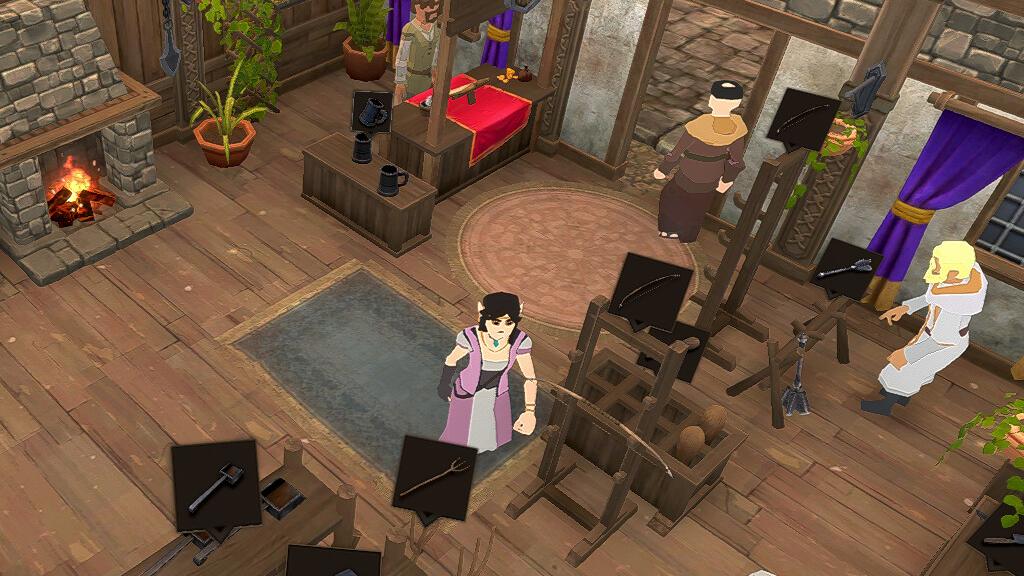
Construction first (20 points), then second floor (100), then basement (300). The third floor costs six times the second and rarely pays before the shop has a smelter bank.
Walls: cheap to move, expensive to place badly
Construction unlocks wall building and demolition. Building a wall costs gold; changing the appearance of walls and floors is free at any time. That split matters: you can reskin the shop as often as you like, but every wall you place is a small permanent spend.
The blacksmith master best layout→ page ranks the strongest options and explains where each one fits.
Walls do three jobs: they block customer pathing into the forge, they separate the shop front from production, and they define where decorations can hang. Banners and curtains need wall pillars or windows, paintings need wall space, chains need pillars.
The mistake is walling the forge off entirely. Smiths still need to reach storage, and a single doorway becomes a traffic jam at shift change. Two openings: one for staff, one for customers, is the 1.0 pattern.
Floors and what they cost
| Node | Points | Gold cost | What it gives |
|---|---|---|---|
| Construction | 20 | wall costs | Build or demolish walls |
| 2nd Floor | 100 | 100 for stairs | Doubles usable area |
| Basement | 300 | 100 for stairs | Large, no customer access |
| 3rd Floor | 600 | 100 for stairs | Space for carpentry and design |
| 4th Floor | 700 | 100 for stairs | Space for smelting |
| 5th Floor | 800 | 100 for stairs | Jewellery and pottery |
| Elite trait | free | 100 for stairs | One floor below the basement |
Stairs cost 100 gold each and come in two shapes: regular stairs take 6x10, spiral stairs take 8x4. There is no speed difference documented, so spiral stairs are the better choice on narrow plots and regular stairs are easier to place against a long wall.
Every floor needs its own landing. A staircase placed against the outer wall leaves the middle of the floor free; one placed in the centre splits the room into two narrow halves.
Is the second floor worth 100 points?
Yes, earlier than most players expect. The ground floor fills with shop front, storage, forge and smelter by around day 30, and the alternative to a second floor is demolishing racks to fit a Workbench.
The second floor is best used for the forge line: furnace, anvil, bucket, workbench. Smiths walk down to storage, which is one staircase trip per batch. Customers never go up, so the floor stays clear.
A basement is better for smelting because the tier-three smelter is 12x6 and no reasonable ground floor has a spare 12x6 after the shop front is built. Basements are also where trade route crates belong, since nothing there needs customer access.
What goes on floors three to five
- Third floor: Carpentry Table (300, 4x4), Design Table (200, 6x6), extra storage. Low traffic, no heat dependency.
- Fourth floor: smelter bank if the basement is full, plus ore crates.
- Fifth floor: jewellery and pottery. The highest value per tile and the slowest crafts, and by the time you unlock it you have the trade routes to feed it.
These are guidelines, not rules. What matters is that each floor has a single purpose, because every mixed floor adds walking distance between the two things that need to be adjacent.
The expansion that is not worth it
The fifth floor at 800 points is the most expensive space in the game and arrives when the shop is already profitable. If the choice is between the fifth floor and Advanced Metalworking (500) or Jewelry (900), take the production node. Space without material supply is just more empty floor.
The same logic applies to the third floor at 600: if your bottleneck is ingots, a 600-point floor will not fix it. Buy the mine or the smelter instead.
Demolition and refunds
Placed furniture sells back at 70% of purchase price. Walls cost gold to remove but refund nothing. Before you tear down a room, empty it: selling a storage returns its contents to the warehouse, but selling a rack with items on it loses the display stock.
Checkout Counters with a cashier assigned cannot be sold, so unassign first. Staff Benches cannot be sold if that would leave a worker without a seat.
A renovation checklist
- Empty the room you are changing; move displays to a temporary wall.
- Reskin floors and walls first, since that is free.
- Place stairs before furniture, not after.
- Keep a three-tile aisle from stairs to the main work area.
- Reassign blueprints to every rack you moved; the red highlight is easy to miss.
- Check employee tasks, because demolition can invalidate a Restock or Transfer task silently.
Official source: Hooded Horse wiki: Shop ↗ — wall, floor, stair and furniture costs. Official source: Hooded Horse wiki: Mastery Tree ↗ — floor node point costs. Official source: Blacksmith Master 1.0 Preview ↗ — customer-only doors and pathfinding changes.
FAQ
How many floors can a shop have? Five plus a basement, and one elite worker trait adds a floor below the basement.
Do walls cost upkeep? No. Walls are a one-time gold cost with free appearance changes.
Can customers reach upper floors? They can path there, but they have no reason to. Keep displays on the ground floor unless a rack specifically fits better upstairs.