
Blacksmith Master Mining Guide: Ore Nodes, Pickaxes and Gems
How mining works in Blacksmith Master: three ore types, vein mechanics, Pickaxe Rack upgrades, miner stamina and the fastest way to more iron ore.
Mining is not a minigame. You place a mine zone, hire miners, and they hit rocks until ore falls out. The depth is in the logistics: stamina, rest areas, pickaxe upgrades and the walk between the rock face and the crate.
Ore only becomes money after the steel chain→ turns it into ingots, so read this page with that one open.
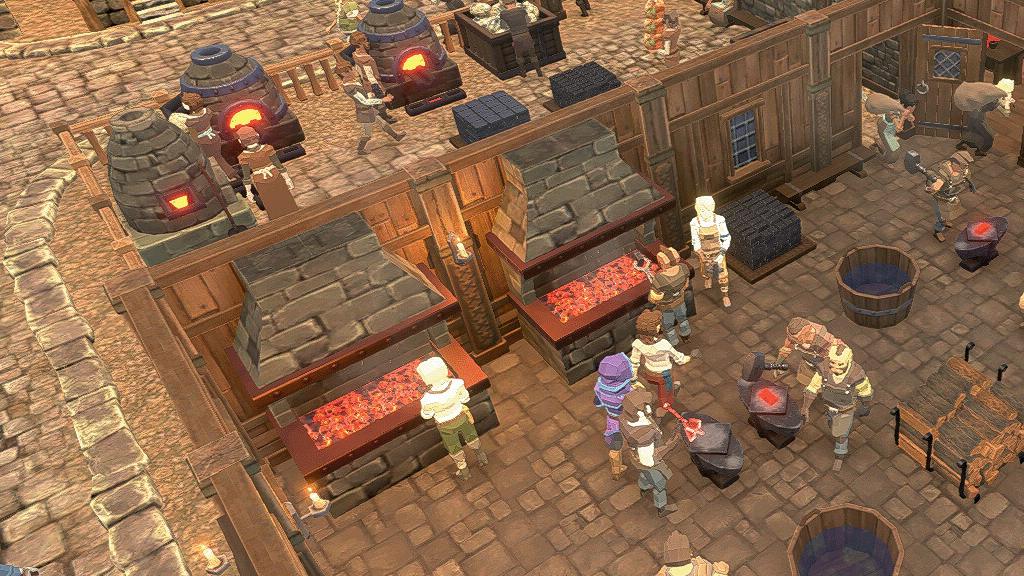
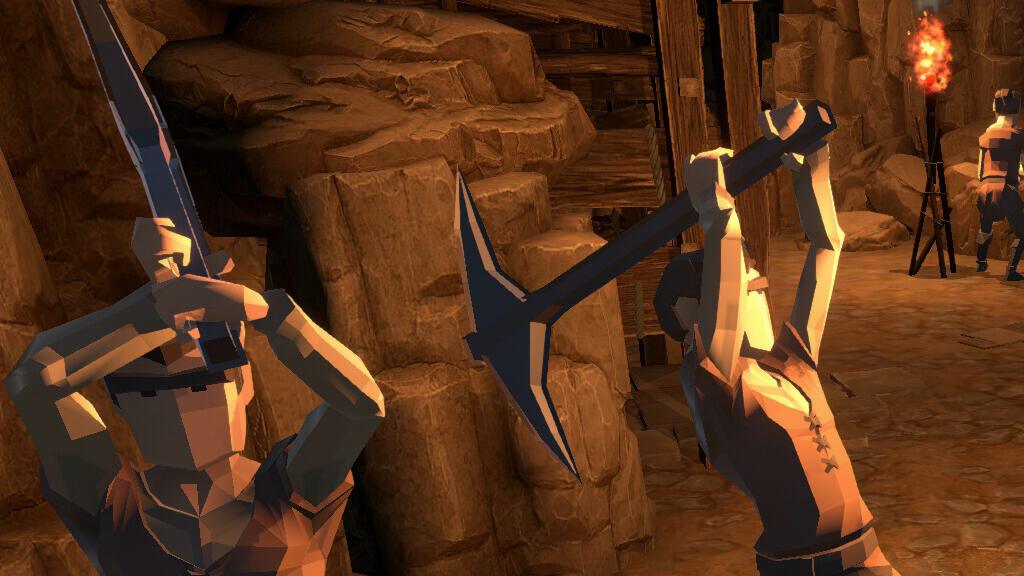
Miners spend more time walking than swinging. Put a Rest Area and a crate close to the veins before you buy a second miner.
The three mines
| Mine | Mastery cost | Ore |
|---|---|---|
| Iron Mine | 200 | Iron ore |
| Silver Mine | 200 | Silver ore |
| Copper Mine | 300 | Copper ore |
Each mine zone contains three veins. A vein has a health bar; hitting it reduces health, and when it empties it drops one ore and refills. Mining is therefore a loop of hits, not a finite resource — a mine never runs dry, it just runs slow.
The blacksmith master how to make steel→ page goes deeper on the exact numbers and edge cases.
Iron is the mine you build first. Steel, tools, weapons and most orders depend on it, and it is the only ore you can also buy.
Miner stats that matter
- Mining skill: at level 0 a miner deals 20 damage per hit to iron, 10 to copper, 5 to silver. Each level adds 50%.
- Stamina: 100 base, +10 per level. When it runs out the miner sleeps.
- Walk speed: 2 m/s base, +0.3 per level.
That silver penalty is brutal and it is why silver mining without a leveled miner feels broken. Five damage per hit against a rock that needs dozens of hits means minutes per ore.
The skill point priority is Mining first, Stamina second, Walk third. A miner who hits harder also spends less stamina per ore, because each ore takes fewer swings.
Pickaxe Rack: the upgrade that doubles output
| Pickaxe Rack | Cost | Effect |
|---|---|---|
| Tier 1 | 5,000 | Rock health -20 |
| Tier 2 | 10,000 | Rock health -20 |
| Tier 3 | 20,000 | Rock health -20 |
The rack takes 4x2 and one can be placed per mine. It reduces the health of every rock in that mine, which is a direct multiplier on ore per hour. At 5,000 gold it is expensive in the early game and obvious in hindsight.
Buy it after the mine has three miners and a rest area. Before that, the bottleneck is staffing, not rock health.
Stamina infrastructure
- Rest Area (500 gold, 8x8): restores stamina, adds +3 to the miner cap for that zone, maximum four per zone.
- Drinks Crate (1,000): +50 maximum stamina, one per zone.
- Cauldron (1,500): +50 maximum stamina, one per zone.
- Fire Pit (3,000): faster stamina recovery.
- Torch (150, 2x2): light, needed for visibility in the mine.
A miner with 200 stamina works roughly twice as long between naps as one with 100. The Drinks Crate and Cauldron are the cheapest throughput upgrades in the game per gold, because they apply to every miner in the zone.
Crate Elevator and ore transport
The Crate Elevator (500 / 1,000 / 2,000, 8x8) moves ore out of the mine. Without one, ore accumulates at the rock face and an assistant has to haul it manually.
Place the elevator near the veins and the ore crate near the elevator. The pattern is the same as the smelter room: input, process, output within a few tiles.
Ore arrives in the shop's storage the next day, like all gathering output. That delay is why mines feel disconnected from the forge: you are always working with yesterday's ore.
Miner tasks and XP
- Mine ore: 2 XP per hit.
- Haul ore: 6 XP per ore delivered.
Hauling pays triple the XP per action, which makes it the faster leveling task early. A miner who hauls for a day reaches level 3 or 4 and then mines twice as fast. This is the least obvious optimization in the game.
Assign one miner to haul and the rest to mine when the mine is new. Switch to all-mining once the ore crate is close and hauling is a short walk.
Gems and the Master Miner
The Master Miner, added in 1.0, makes mining produce gems alongside ore. Gems feed jewellery and the Gem Storage (3,000 gold, 2x4), and they are otherwise only available through the Gem Mine trade route at 100,000 gold.
If jewellery is part of the plan, the Master Miner is worth more than any two normal miners. It converts an expensive trade route into a passive byproduct.
Why your mine is not producing
Four causes, in order:
- No rest area. Miners cap at the base number and sleep constantly.
- Ore crate full or missing. Output has nowhere to go.
- Miners assigned to the wrong task. Everyone mining and nobody hauling means ore piles up at the face.
- Mine is silver or copper with low-level miners. The damage penalty is doing exactly what the numbers say.
Check them in that order before buying anything.
Is the mine worth 200 points?
Yes. Iron ore bought through a crate costs 15 gold per unit. A three-miner iron mine produces dozens of ore per day, which is hundreds of gold of material for the cost of wages. The payback is roughly two weeks at normal production, and it never stops paying.
The Copper Mine at 300 is a different question. Copper is the weakest metal, and unless the pottery and bronze lines are part of the plan, those points belong in Smelting 2 or Advanced Metalworking.
Official source: Hooded Horse wiki: Resource gathering ↗ — mine zones, vein mechanics, stamina buildings. Official source: Hooded Horse wiki: Workers ↗ — miner skills, tasks and XP. Official source: Hooded Horse wiki: Mastery Tree ↗ — mine node costs.
FAQ
Do mines run out of ore? No. Veins refill after dropping one ore.
How many miners per mine? Three per Rest Area, with up to four Rest Areas per zone.
How do I get more iron ore fast? Pickaxe Rack, a leveled miner on hauling, and a rest area close to the veins.