
Blacksmith Master Best Layout: One-Way Floor Plan That Works
A tested Blacksmith Master layout: forge lane, shop front, storage bay and stairs, with every building footprint and the walking distances that matter.
Layout in Blacksmith Master is a walking-distance problem disguised as a decorating problem. A smith walks at 2.2 metres per second, an anvil craft takes 12 seconds for iron at Metalworking 0, and every extra tile between furnace, anvil and water bucket is paid on every single item. The layout below keeps the four-station forge loop inside roughly 8x10 tiles and puts the shop on the other side of a wall, which is also how you stop customers wandering into the forge.
Check the shop expansion rules→ before you commit to a floor plan, because walls and stairs are the parts you cannot move cheaply later.
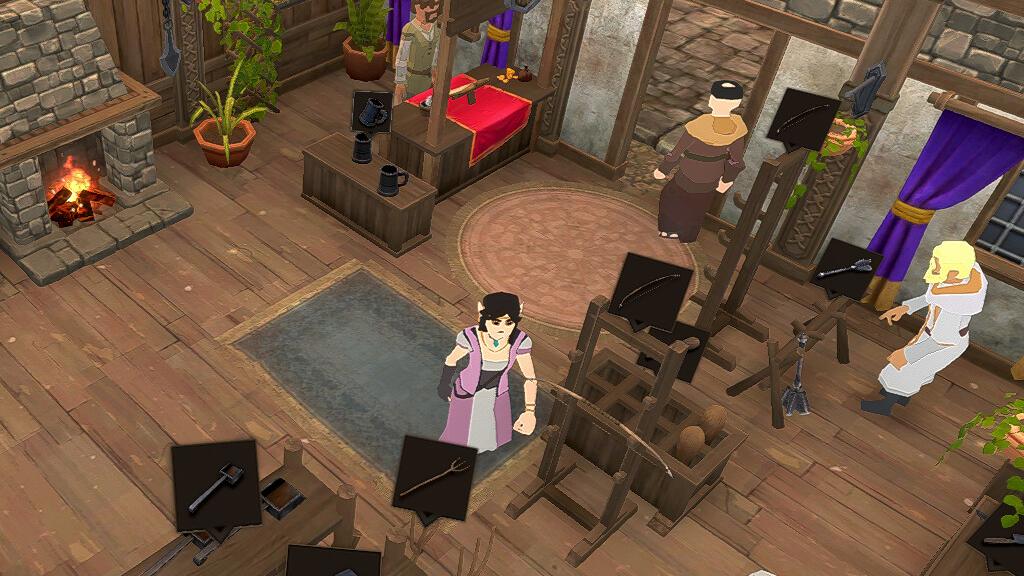
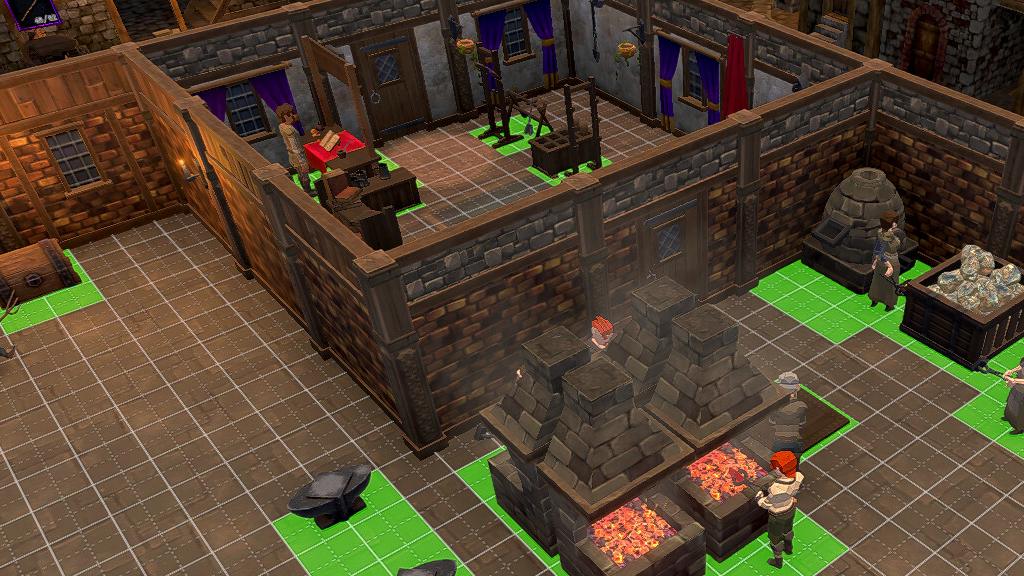
Put the warehouse door, storage and furnace on one side, the anvil and workbench next to them, and the customer door, racks and checkout on the other. Nothing crosses the middle of the room except the smith carrying a finished item.
The four zones
Zone A, intake (west or north wall). Warehouse door, Ore Crate (6x6), Wood Pile (4x2), Storage (4x4). Ingots arrive here and never travel further than the furnace.
The blacksmith master tips→ page goes deeper on the exact numbers and edge cases.
Zone B, heat and hammer (middle). Furnace 4x6, Anvil 4x4, Water Bucket 4x4, Workbench 6x4. Place the furnace so its interaction point faces the anvil, and the bucket within two tiles of the anvil's output side.
Zone C, shop front (east or south). Checkout Counter 6x6 near the customer door, racks along the walls. Customers path to the counter after picking an item, so the counter should be the first thing they see and the last thing they pass.
Zone D, vertical circulation (corner). Stairs 6x10 or spiral 8x4. Keep the landing clear of racks; a queue that backs into a staircase blocks the whole floor.
Footprint cheat sheet
| Building | Size | Cost | Note |
|---|---|---|---|
| Furnace | 4x6 | 400 | One smith at a time |
| Anvil | 4x4 | 650 | The throughput bottleneck |
| Water Bucket | 4x4 | 150 | Must be adjacent to the anvil route |
| Workbench | 6x4 | 750 | Multi-material blueprints only |
| Design Table | 6x6 | 200 | Generates design points |
| Smelter tier 1 | 8x6 | 500 | Ore to ingot |
| Smelter tier 2 | 10x6 | 1,000 | Ingot to medium |
| Smelter tier 3 | 12x6 | 2,000 | Medium to large |
| Storage | 4x4 | 200 | 225 tier-one ingots |
| Ore Crate | 6x6 | 250 | 40 ore, needs Smelting 1 |
| Checkout Counter | 6x6 | 150 | Blocks the aisle if misplaced |
| Weapon Rack | 4x2 | 100 | Six blueprints |
| Shelves | 4x2 | 200 | Two customers, triple capacity |
The smelter line is the reason ground-floor layouts fail at tier two: 8x6 becomes 10x6, then 12x6, and a 12x6 building does not fit in a room designed around an 8x6 one. Either leave a 12x6 strip empty from the start or move smelting to the basement.
A ground floor that survives to tier three
Picture a 30x24 plot, which is roughly what a starting shop gives you before wall expansion.
- Top strip, 30x6: smelter row, three tiles of aisle in front. Reserve 12x6 even if you only own the tier-one smelter.
- Left strip, 8x18: storage bay, Ore Crate, Wood Pile, warehouse door.
- Centre, 14x10: furnace, anvil, bucket, workbench in a U. The open side of the U faces the storage bay.
- Right strip, 8x14: shop front, customer door, two racks and the checkout counter.
- Bottom right, 6x10: stairs to floor two.
This leaves a 3-tile aisle down the middle, which is the minimum for two workers to pass without one of them re-pathing. If you have ever watched a smith walk into an assistant carrying ingots and stop, that stall is what the third tile buys you.
Decorations refund nothing when a wall moves. Place racks and lights after Construction (20 points) has let you set the room shape, not before.
Where the shop front goes, and why
Customers enter, walk to a display, then walk to the Checkout Counter. They do not browse a second rack on the way unless it is on the path. A single-file front with two fully decorated racks beats six racks spread around the building, because the decoration rule is 500 gold per display and spreading that budget thin leaves every display under its maximum customer count.
Two racks at full decoration (1,000 gold of lights and plants) will outsell six racks at 150 gold each, and they need one cashier instead of three.
Vertical layout: what belongs on each floor
| Floor | Best use | Reason |
|---|---|---|
| Ground | shop front, checkout, storage | Customers never climb stairs |
| Second | forge line, anvil, workbench | Short walk from storage stairs |
| Third | carpentry, design tables | Low traffic, no heat dependency |
| Fourth | smelting | Noise and heat are cosmetic; footprint is huge |
| Fifth | jewellery, pottery | Highest value per tile, slowest crafts |
| Basement | overflow storage, trade route crates | No customer access needed |
Stairs cost 100 gold and 6x10 of floor, so every floor loses a chunk of usable area to circulation. Spiral stairs (8x4) are worth the same 100 gold on narrow plots; there is no functional difference beyond footprint.
The layout mistakes that cost the most
- Putting the checkout far from the door. Customers pay at the counter and then leave. Long exit paths mean fewer customers per day.
- One-tile aisles. Pathfinding in 1.0 moves at any angle, which helps, but bodies still collide. Three tiles is comfortable, two is tight.
- Racks against the forge wall. The wall blocks the display's interaction point and the smith's route at the same time.
- No reserved smelter strip. The single most common rebuild in the game.
- Buying the second floor before the ground floor earns. A second floor costs 100 points plus 100 gold for stairs, and it doubles the walking distance for every worker until you staff it properly.
Does the community layout beat this?
The most-upvoted layout post on r/Blacksmith_Master shows a day-250 shop with the forge on the upper floor and a two-rack shop front, which matches the flow above. The difference is scale: at day 250 the smelter bank is six units wide and fed by an iron mine, so the intake zone is larger than a starting plot allows. Copy the zoning, not the dimensions.
Official source: Hooded Horse wiki: Shop ↗ — footprints and prices for every building. Official source: Hooded Horse wiki: Workers ↗ — walk speed and task behaviour. Community source: r/Blacksmith_Master layout thread ↗ — a long-running shop build for comparison.
FAQ
What is the best shop layout in Blacksmith Master? A one-way loop: storage and smelter on one wall, forge in the middle, shop front with two decorated racks and a checkout at the customer door, stairs in a corner with a clear landing.
How wide should aisles be? Three tiles. Two works until two workers meet; one tile causes permanent traffic jams.
Do I need a basement? No, but it is the cheapest large footprint in the game (300 points) and the natural home for tier-three smelters.